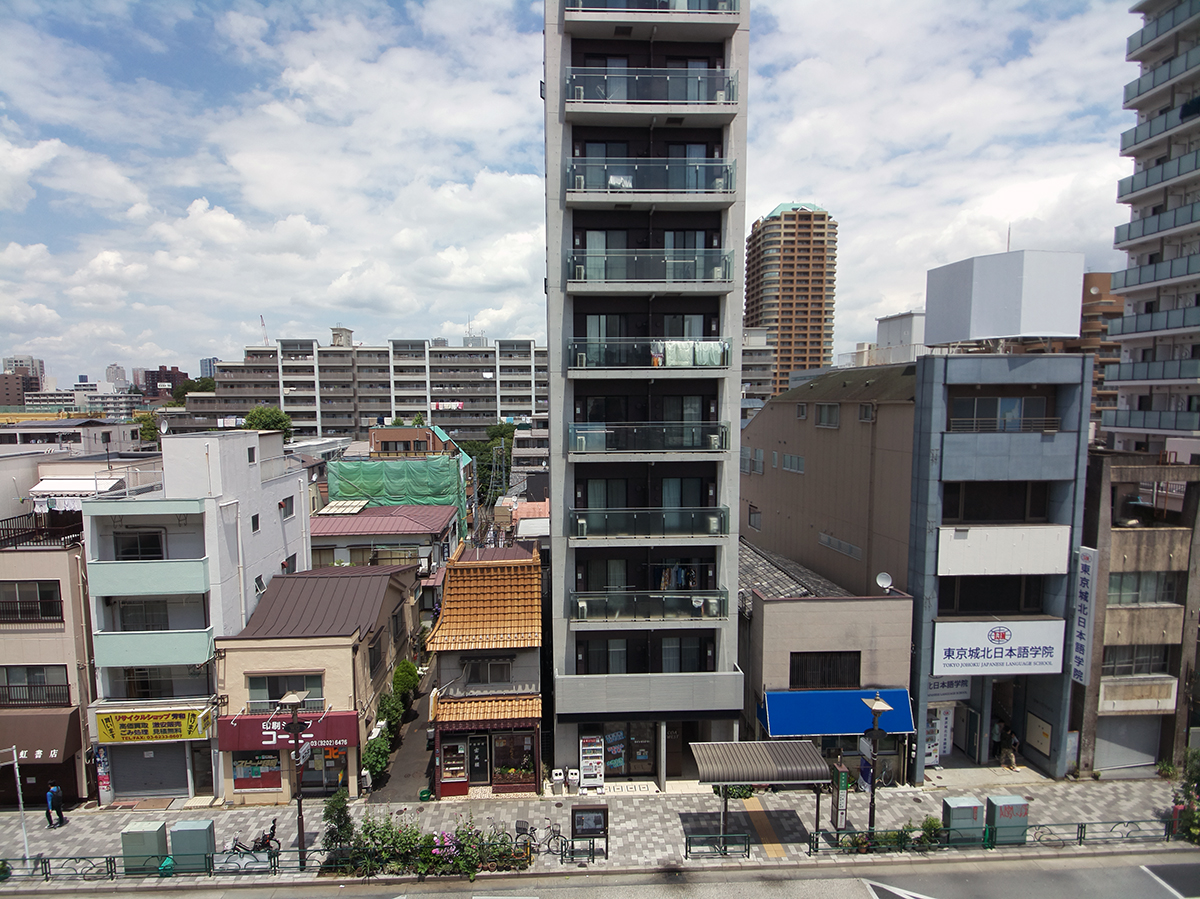
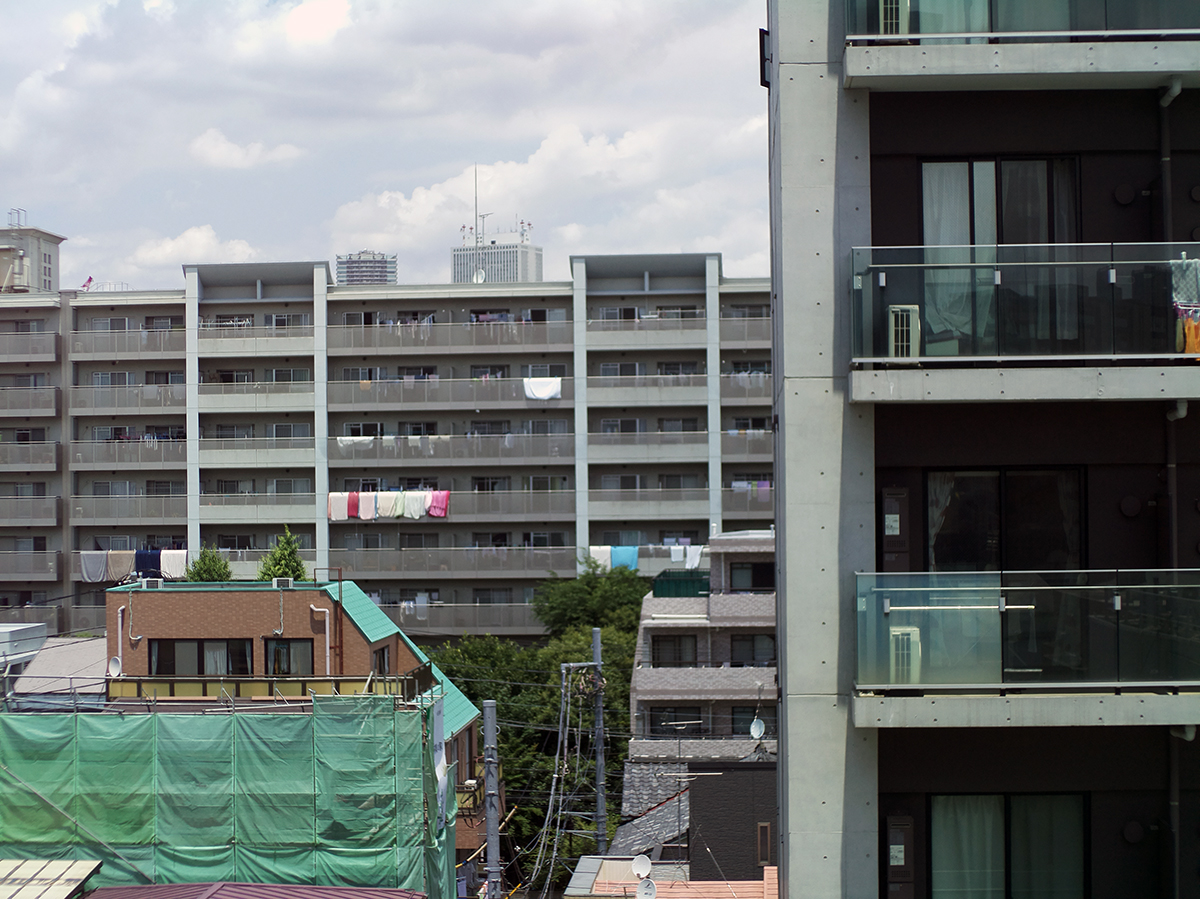
Raspberry Pi HQ Camera M12 Lens Mount Adapter
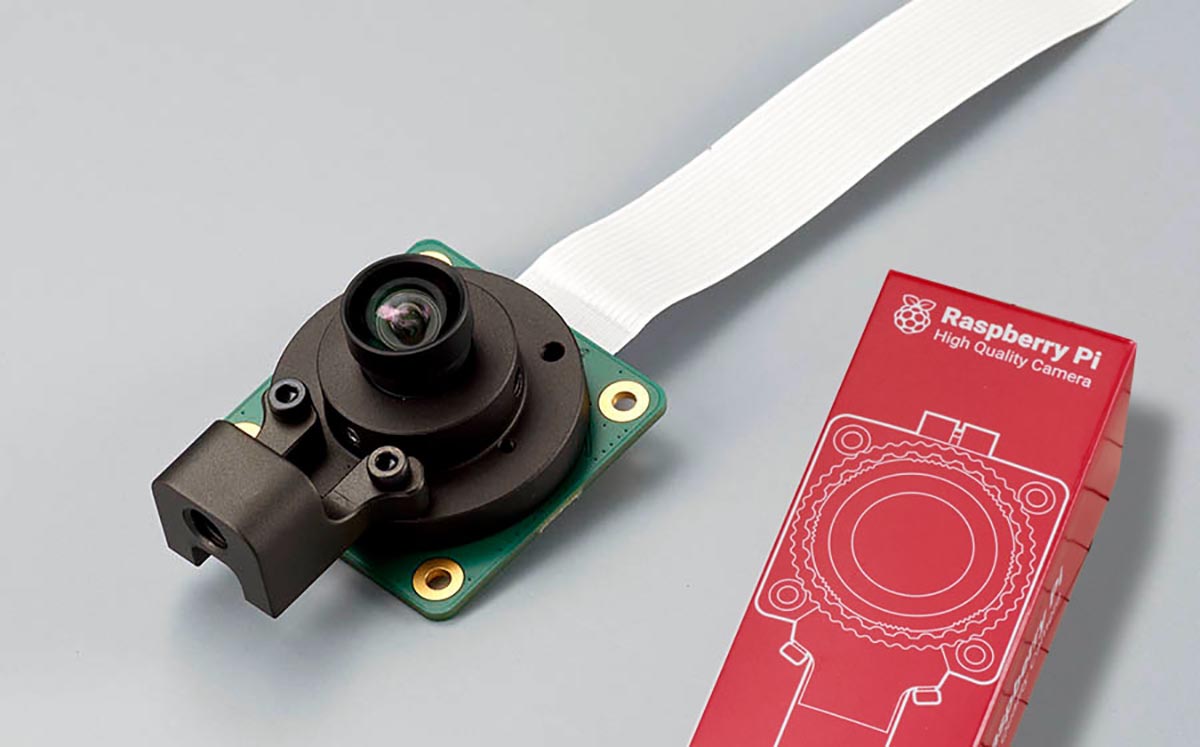
This kit is designed to allow M12/P0.5 (S-mount) lenses to be attached to the Raspberry Pi HQ camera.
By using the “Raspberry Pi HQ Camera M12 Lens Adapter”, you can use M12/P0.5 (S-mount) lenses, which are available in a wider variety and cheaper and lighter than C/CS mount lenses.
*Note. Lenses with a mechanical back of 2 mm or less cannot be mounted.
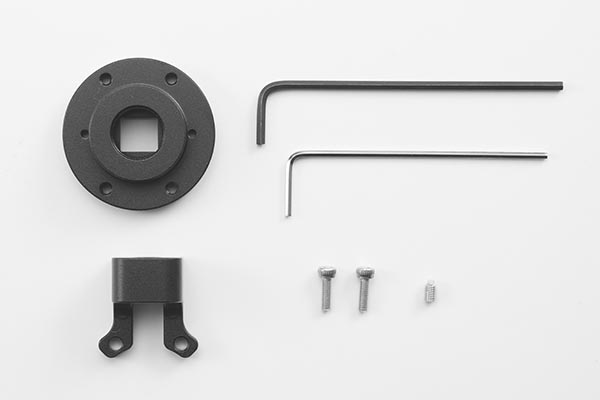
M12 KIT
This kit is designed to attach a lens mount adapter by yourself. (* Requires modification of the camera.)
Product Number: RP-HQ-M12-KIT
Note: Sold as parts only; RaspberryPi Camera HQ and lens must be purchased separately.
The lens can be fixed
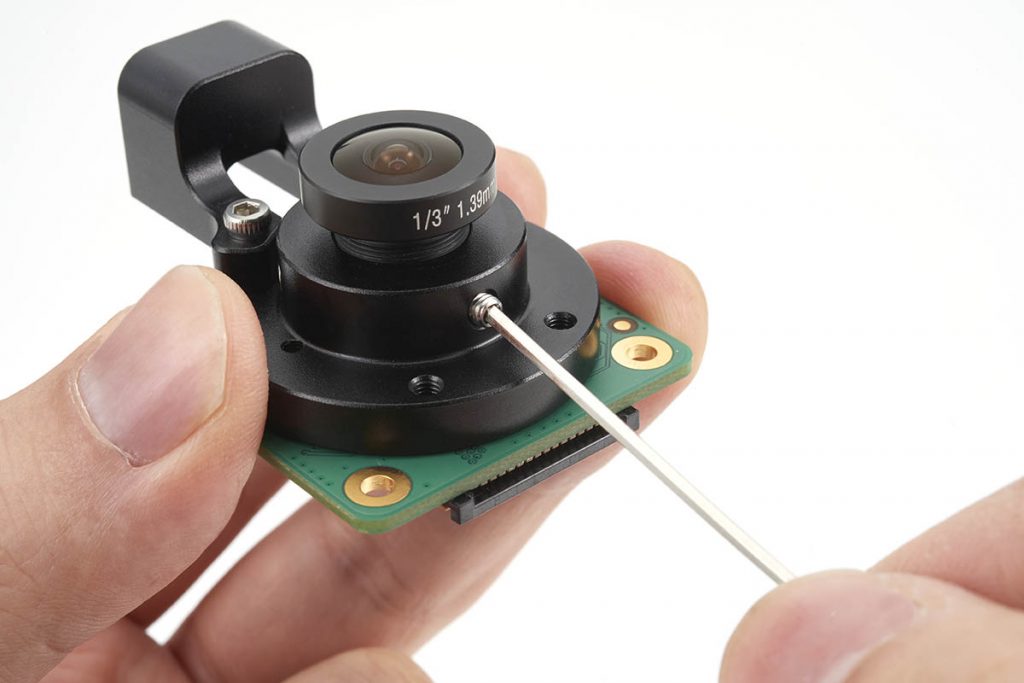
RP-HQ-M12-KIT is equipped with a screw for fixing the lens.
M12 lenses are screwed into the adapter while the lens is being adjusted for focus.
Therefore, if the lens is not secured, there are problems such as touching the lens or shifting the focus position due to vibration.
Raspberry Pi HQ camera M12 lens adapter has lens fixing screws on the side of the adapter to fix the focus and solve these problems.
Interchangeable lenses
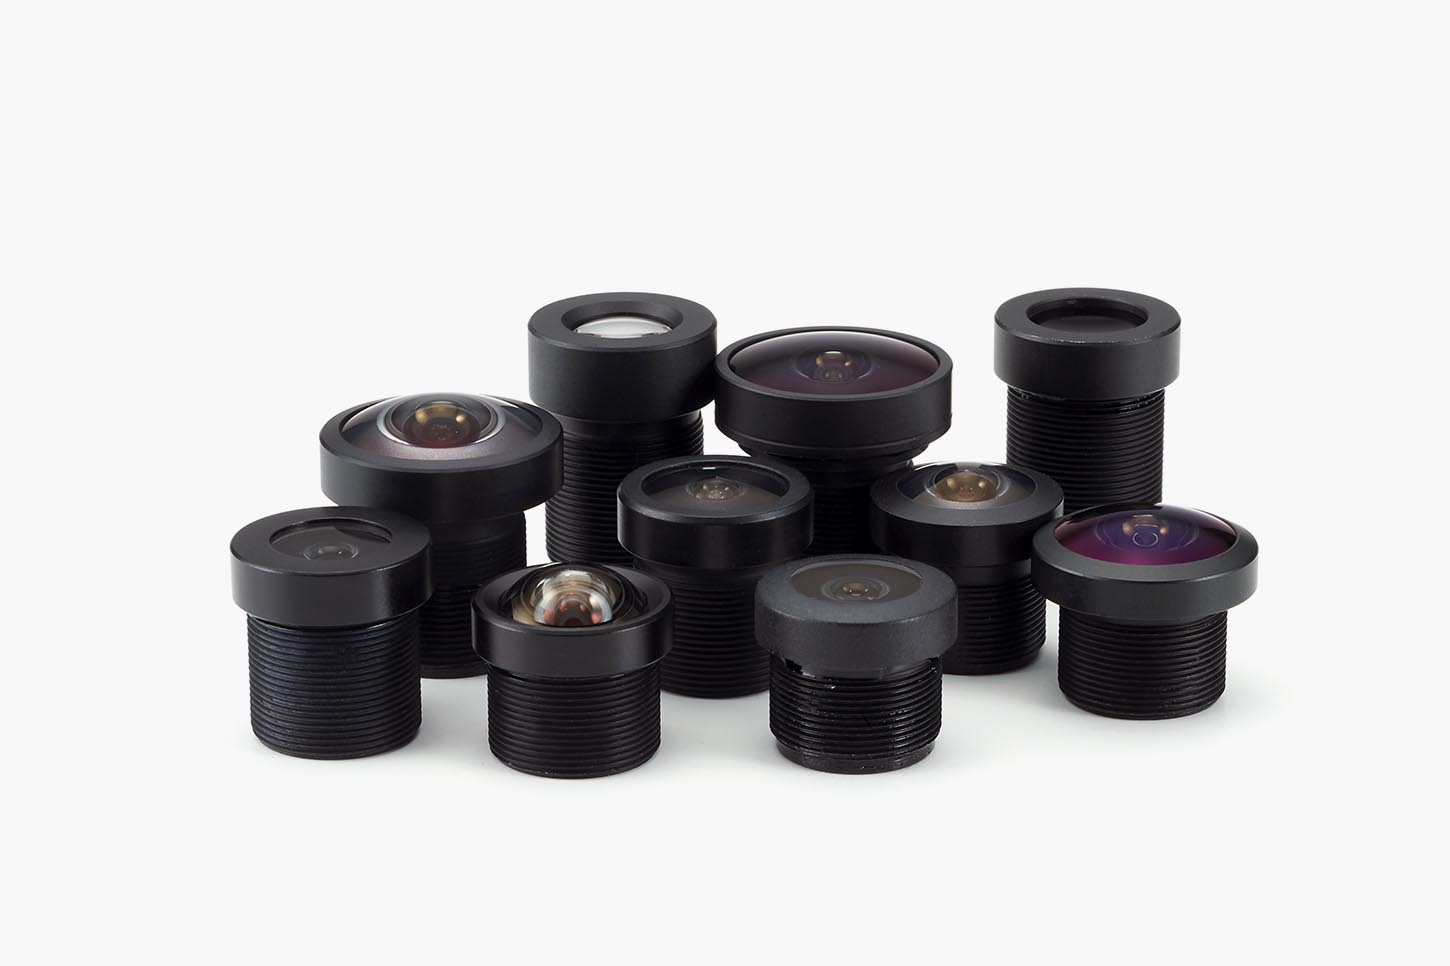
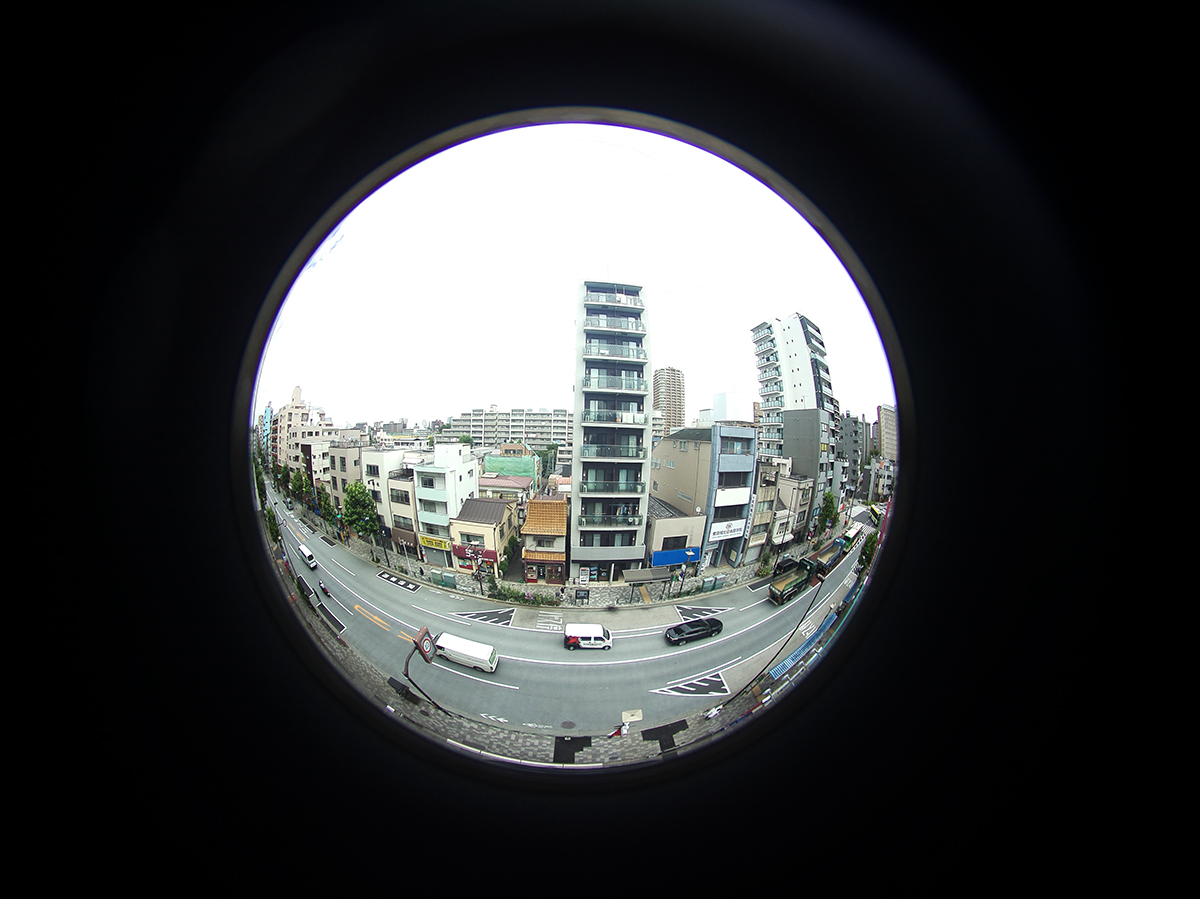
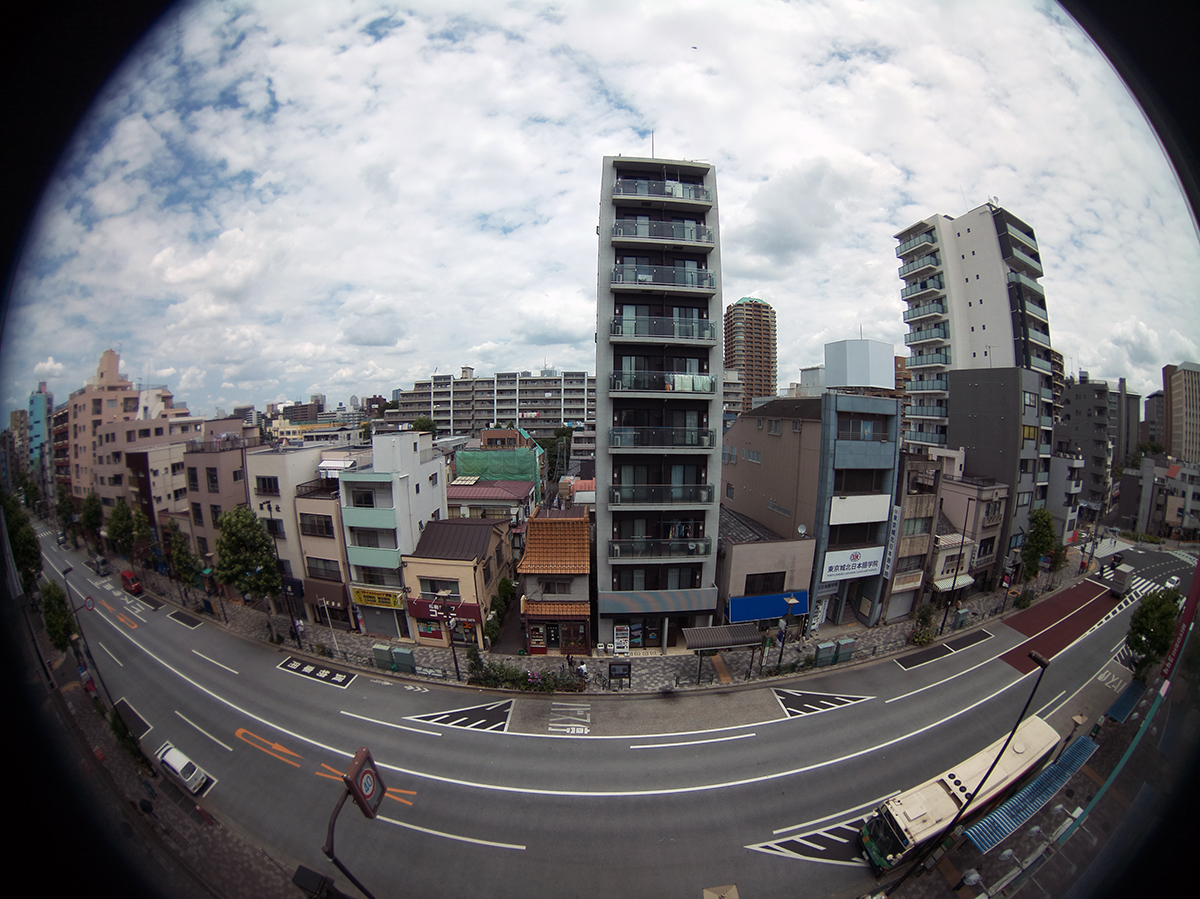
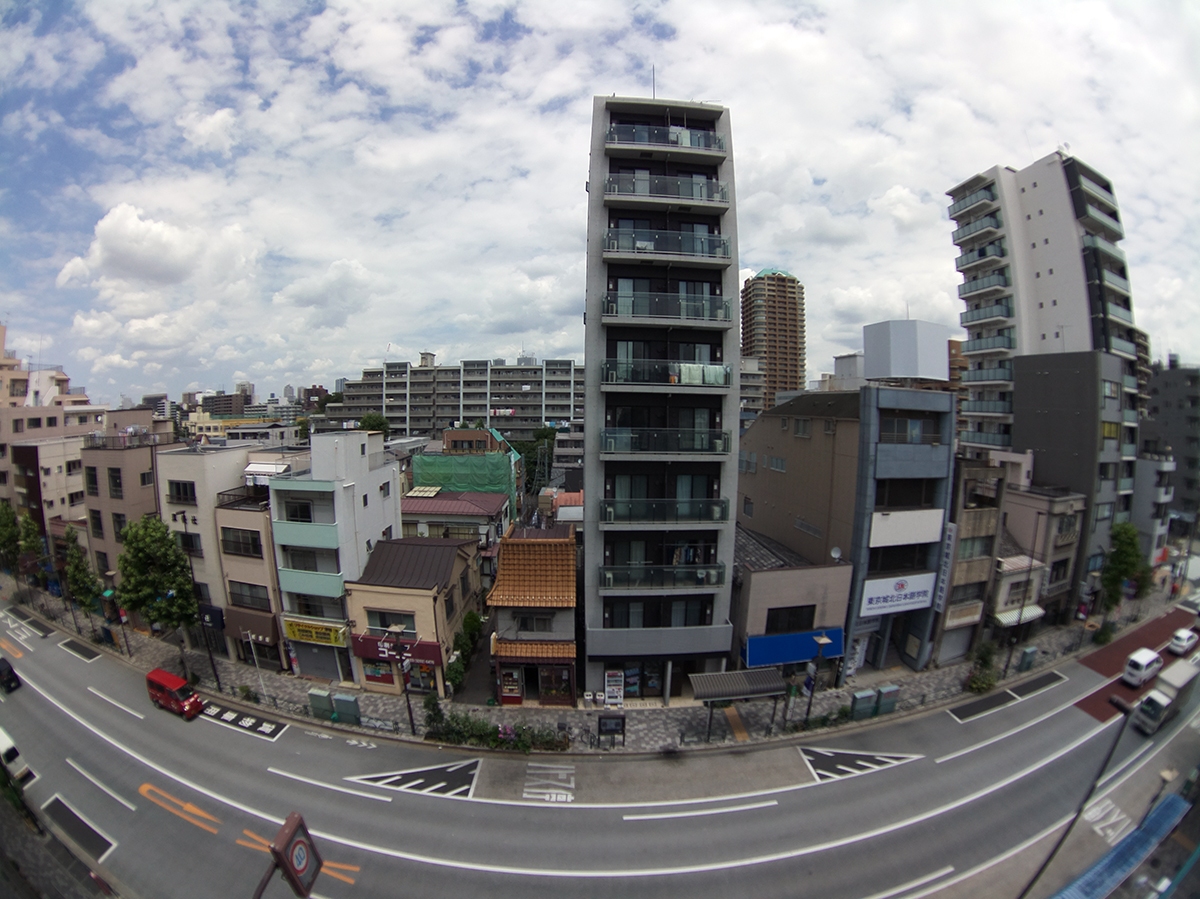
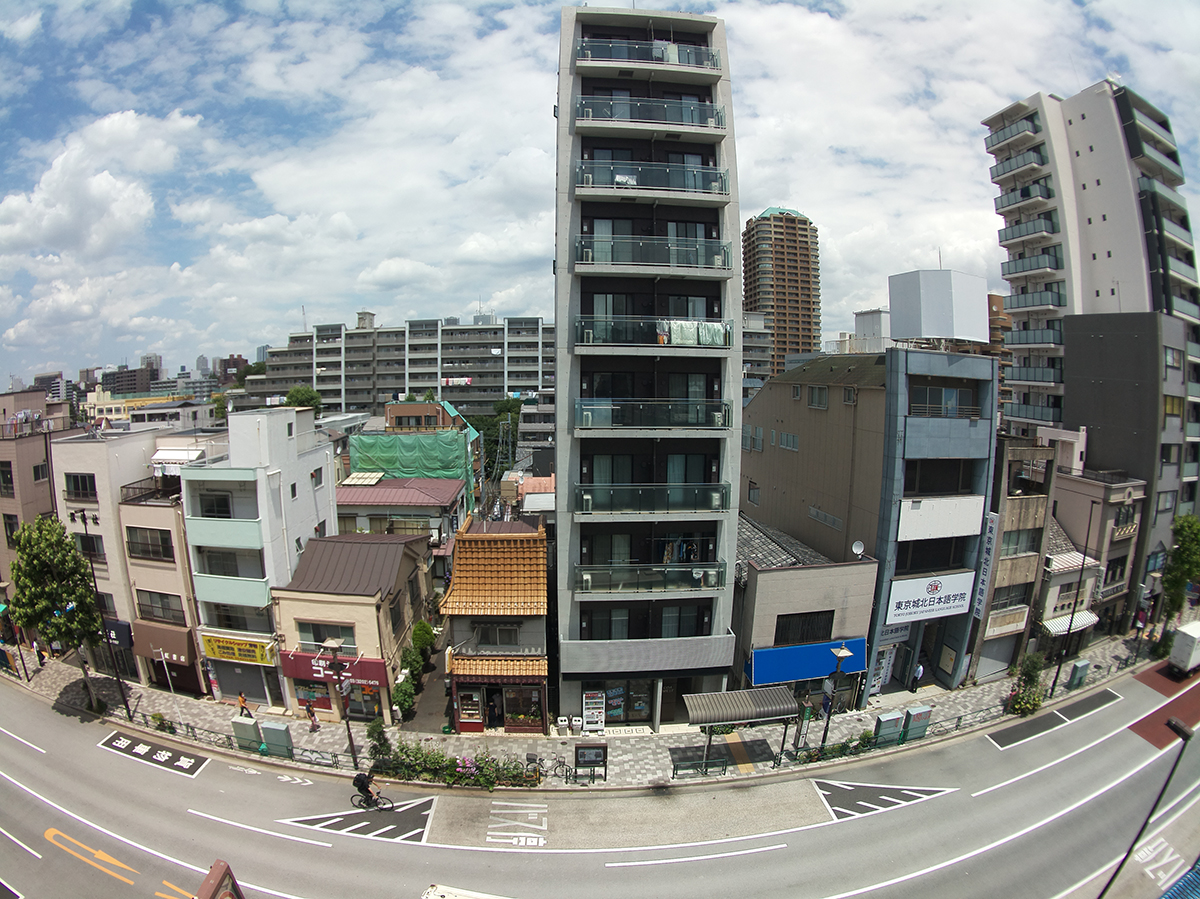
You can select an M12/P0.5 (S-mount) lens that is compatible with the Raspberry Pi HQ camera M12 lens adapter.
Commercially available M12/P0.5 (S-mount) lenses can also be used, but some lenses may not be able to focus.
Installation
Easy to install and return to the original
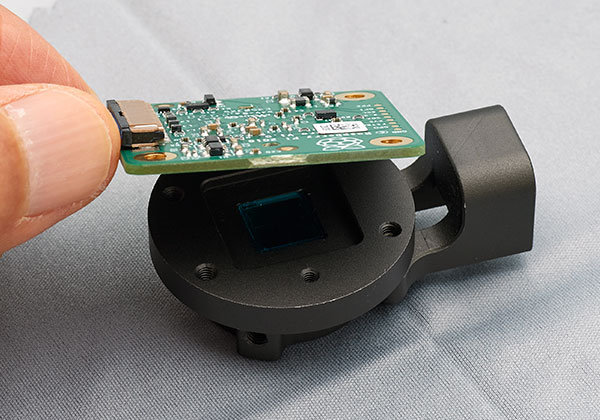
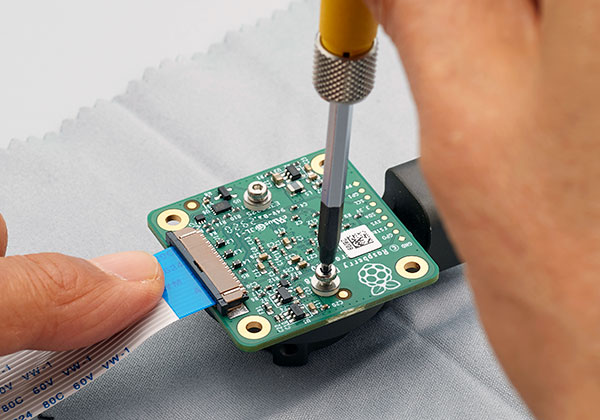
The mounting adapter for the Raspberry Pi HQ camera needs to be replaced, but this is easily done. The camera can also be used as the original camera by changing back to the HQ camera’s original mount adapter.
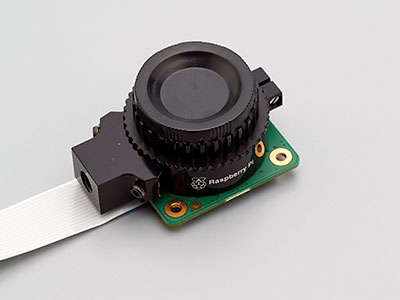
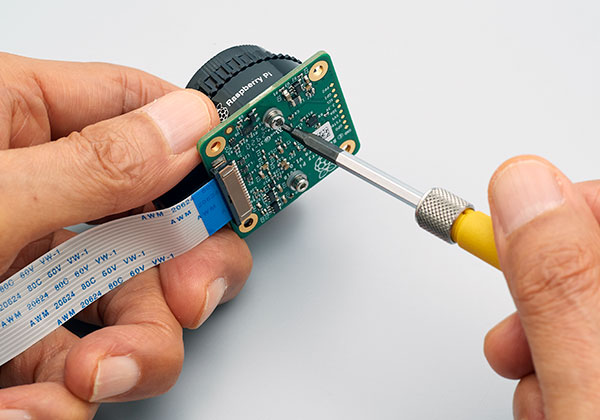
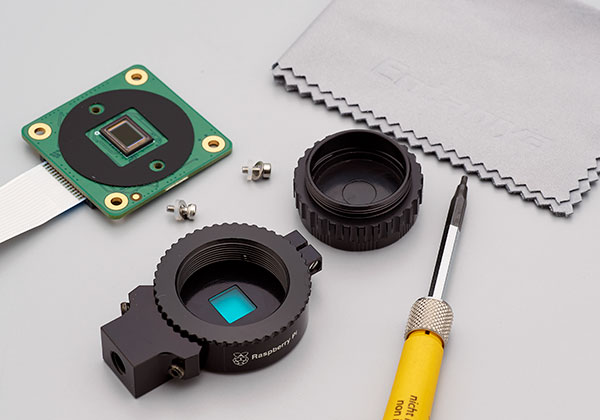
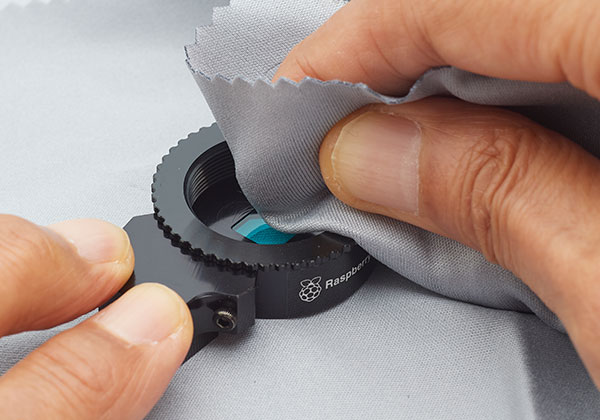
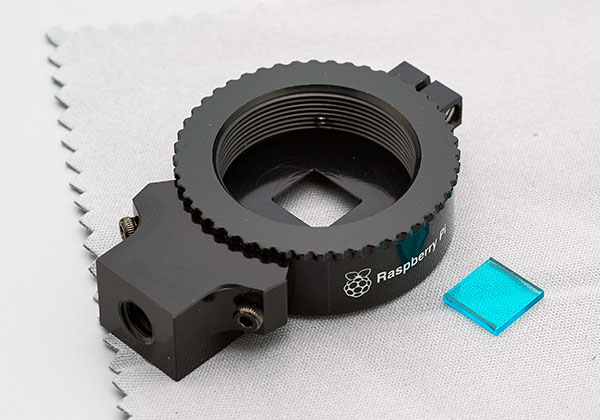
I was able to remove the mount adapter from the camera.
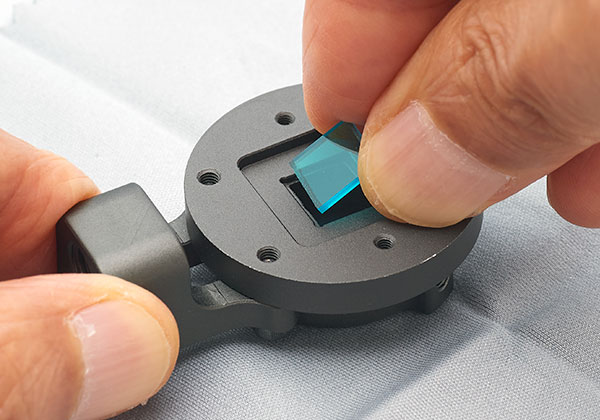
About fixing the filter
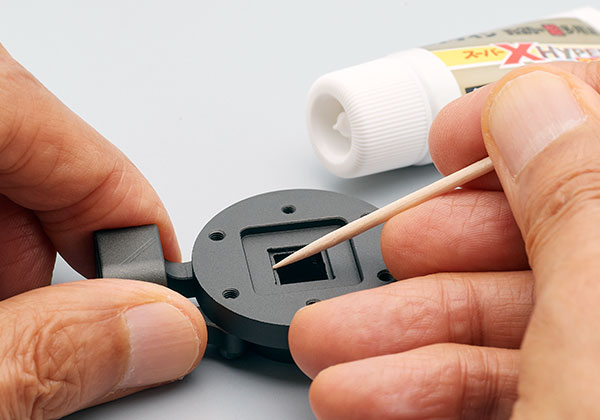
Since the filter is not fixed, it may move and damage the glass of the sensor when used in a place with vibration.
It is recommended that the filter be glued to the mount adapter and fixed in place before use.
When gluing the filter, take a small amount of adhesive on the tip of a toothpick or the like before gluing. Be careful not to apply too much.
- This product should not be incorporated into or used in medical equipment, nuclear facilities and equipment, aerospace equipment, transportation equipment and equipment that affect human life, or equipment, equipment or systems that require a high degree of reliability. Not intended. We will not be held responsible for any personal injury or social damage caused by using this product for these purposes.
- We are not responsible for any direct or indirect damage caused by the failure of this product or its use.
*We have made every effort to ensure the quality of this product, but it is not a genuine product from the manufacturer. Please be careful when using it and use it at your own risk.

